My first toadstool was relatively simple. This second one was more complex, including a representation of the ring around the stem and the volva at the base. The cap was modelled to be smoother than the first, using a geodesic sphere based on a cube.
Ultimaker’s guide to designing for printability suggests that the minimum wall thickness should be double the line width. With Cura, a 0.4 mm nozzle, and a layer height of 0.2 mm, the line width is 0.4 mm. In the light of that, the gills were represented much less finely, so that the walls between them were no thinner than 0.8 mm. That resulted in 30 gills rather than 72.
This model would require more extraneous support. The Orientation tool of Autodesk Meshmixer 3.5.474 was used to find an optimal orientation of the model, using its default settings other than the overhang angle was increased from 45° to 50°. In Cura, the generated support was placed everywhere, using the default settings of zig zag pattern and a support overhang angle of 50°.
The tilt of the cap was more exaggerated for this second toadstool than the first. The Stability tool of Meshmixer provided comfort that the vertical projection of the centre of gravity of the model would not fall outside the region where it made contact with a horizontal plane.
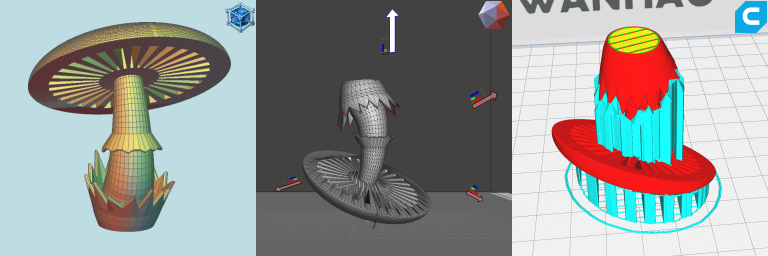
The support was relatively easy to remove with needle nose pliers and a knife, although one of the volva’s spikes suffered a little damage. The quality of the upper surface of the cap was still poor in places, affected by aliasing and the removal of the support.
